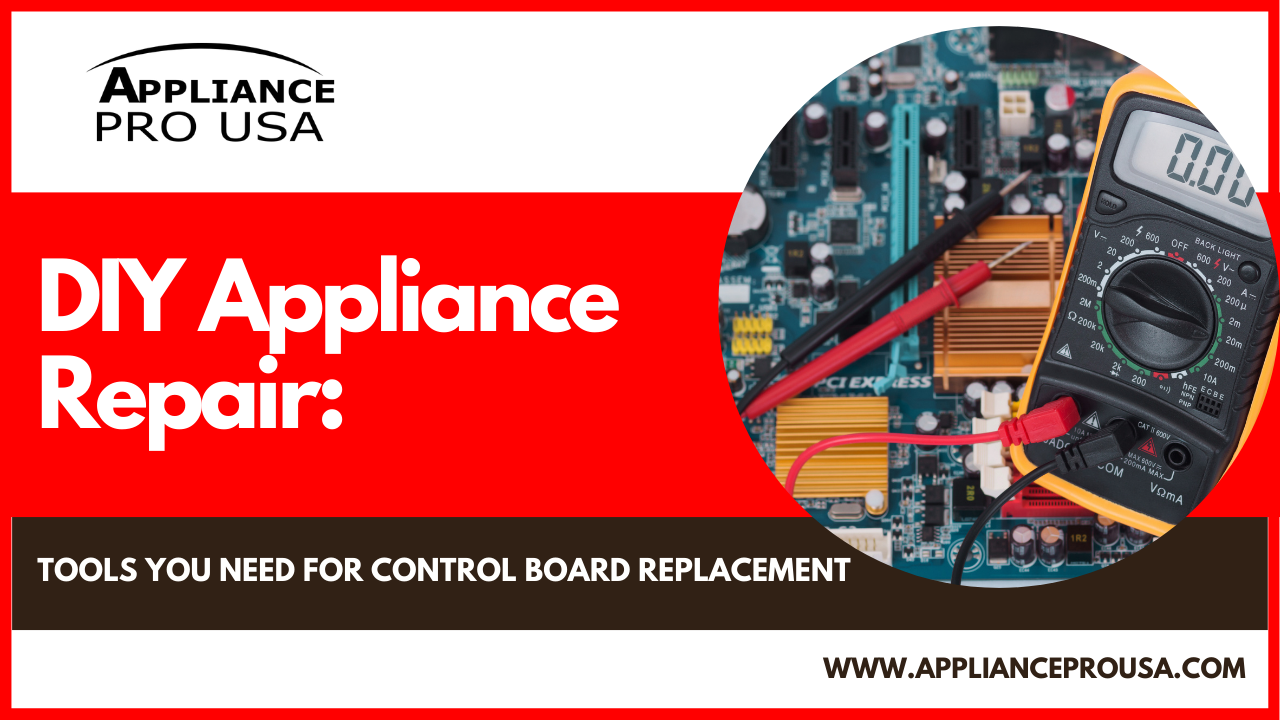
DIY Appliance Repair: Tools You Need for Control Board Replacement
Tackling appliance repairs yourself can save you both time and money, especially when replacing a control board. With the right tools and a bit of guidance, you can handle the repair confidently and restore your appliance to working order. At Appliance Pro USA, we not only provide high-quality refurbished control boards but also help DIYers like you succeed with step-by-step guidance. Here’s a comprehensive list of tools you’ll need for a successful control board replacement.
Why DIY Repairs Make Sense
Replacing a control board may sound daunting, but with a little effort, you can:
- Save Money: Avoid costly service fees by doing the repair yourself.
- Learn a New Skill: Gain valuable knowledge and confidence in maintaining your appliances.
- Fix It Fast: No waiting for a technician—get your appliance back in working order on your own schedule.
Essential Tools for Control Board Replacement
1. Screwdrivers (Flathead and Phillips)
- Why You Need It: Most appliance control boards are secured with screws that require either a flathead or Phillips screwdriver.
- Pro Tip: A set of magnetic screwdrivers can prevent screws from falling into hard-to-reach areas.
2. Multimeter
- Why You Need It: A multimeter allows you to test electrical connections, ensuring that power flows correctly to and from the control board.
- Pro Tip: If you’re new to using a multimeter, watch a quick online tutorial to learn how to test for continuity safely.
3. Needle-Nose Pliers
- Why You Need It: Pliers help you grip and disconnect small wires or connectors from the control board without damaging them.
- Pro Tip: Use pliers with rubber-coated handles for better grip and safety.
4. Camera or Smartphone
- Why You Need It: Take a photo of the original wiring configuration before disconnecting anything. This ensures you can reconnect wires accurately.
- Pro Tip: Zoom in on connections for a clear reference later.
5. Safety Gear (Gloves and Goggles)
- Why You Need It: Protect yourself from sharp edges, electrical components, and debris during the repair process.
- Pro Tip: Use cut-resistant gloves for extra safety when working in tight spaces.
6. Flashlight or Work Light
- Why You Need It: Good lighting is essential for seeing small components and connections inside your appliance.
- Pro Tip: Hands-free headlamps can make your job easier by keeping both hands free for the repair.
Additional Tools That May Be Helpful
- Wire Stripper: For repairing or adjusting wires if needed.
- Voltage Tester: To verify that the appliance is powered off before beginning the repair.
- Replacement Screws: In case the original screws are damaged or lost during disassembly.
Step-by-Step Guidance
Once you have the tools ready, follow these basic steps:
- Disconnect the power to the appliance.
- Use your tools to access the control board and remove any connections.
- Test the control board with your multimeter to confirm it needs replacing.
- Install the new control board and reconnect wires using your reference photos.
- Secure everything back in place and test the appliance for proper operation.
For detailed instructions, refer to our Step-by-Step Guide to Replacing Your Control Board.
Why Choose Appliance Pro USA for Replacement Control Boards?
When it’s time to replace your control board, Appliance Pro USA is here to make the process simple and affordable:
- Affordable Pricing: Save up to 50% with our refurbished control boards.
- Guaranteed Quality: Every control board is rigorously tested for reliability.
- Fast Shipping: Get the part you need quickly to minimize appliance downtime.
- Expert Support: Our team is ready to answer your questions and guide you through the process.
With the right tools and guidance, replacing your appliance’s control board can be a straightforward and rewarding DIY project. At Appliance Pro USA, we’re committed to providing not only the parts you need but also the support to help you succeed.

